DIY bookmarks, how to make them with recycled materials and more. Useful to use for yourself or to give to friends. A nice object that cheers up with its colors and shapes.
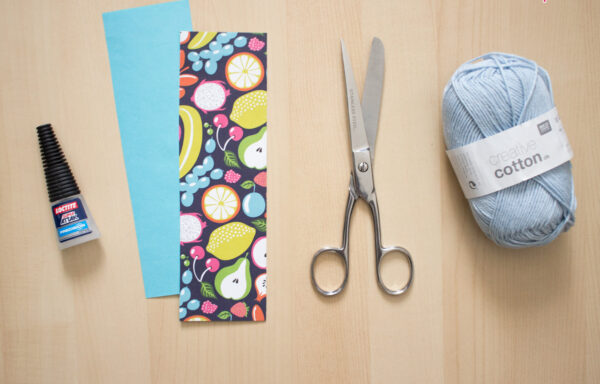

Young and old lovers of reading I’m often collectors serial of bookmarks. If you also belong to this category or you know someone and you need to give them a gift, here are some creative idea that combines fantasy is creative recycling.
Nowadays there are many retailers, online and beyond, who carry out customization services on various supports, including photographic ones, but do you want to give the satisfaction of making something with your own hands?
Let’s go always give it right tools, which are essential. Usually they can not miss:
- Fabric scraps different
- Ribbons recovered from wedding favors and gifts
- Colored cards
- Buttons is beads colored
- Scissors
- Glue stick
- Punching machine
Read also: Smoking table: 10 recovery ideas for home decor
If you already have everything you need, here are some ideas that you can easily put into practice right away.
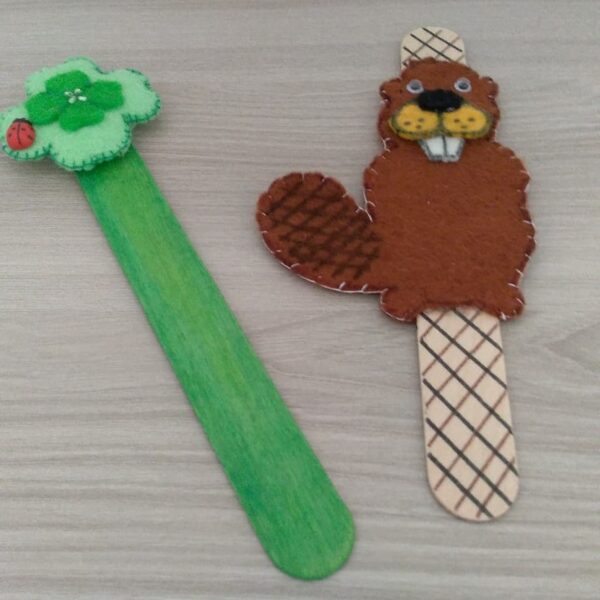
Felt bookmark
This template is very easy to reproduce. That’s enough cut out the shape that you prefer on a cardboard and then bring it back on the felt in double copy (to do two-sided). Between the two pieces obtained you place a stick, then Yes stuffs the created figure e they sew all the edges. The result will be super cute!
One more idea? Making the silhouette of an ice cream and use a true popsicle stick.
Bookmark with newspaper clippings
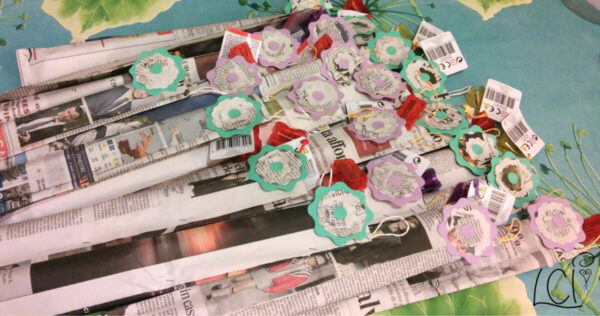
For this DIY job you need start from the choice gods pieces of paper to use; you can choose also to do a collage.
First of all must do a rigid base with a very double cardboard, to be cut into the shape and size you prefer. A small and inconspicuous bookmark is only a few centimeters long, a traditional one about 5-8 cm. L’important, if you don’t want it to go too far out of the book, is do not exceed 15 cm in length.
One time made the support, paste on it the various clippings what have you chosen. USA there glue stick so that you don’t create too much thickness. can to add all the details what do you think: glitter, stickers, trimmings, etc… The your personal touch it could be some written with marker or with one colored pen.
You may be interested in: Coffee tables: 40 ideas of materials, styles, prices and how to furnish
At this point, you will have to cover the bookmark. It is necessary to protect the newspaper from damage is folds, so you need one stronger outer layer. L’ideal would be plasticize it; there are special tools to do this at home, otherwise you can go to a well-equipped copy shop. You can recreate the same DIY effect using some transparent scotch, which is very wide so that you don’t have to make too many turns. The final sides must be closed properly to prevent the lamination from opening, ruining all the work done.
If you like that comes out of the bookmark a ribbon, do a central hole at one end and use it for tie the ribbon with a loop knot. This must be done after lamination, so you need an awl or a hole punch.
Bookmark with ribbons and beads
There creation suitable for the most romantic. The first thing you need is a quite double thread, but easy to handle, in which string beads of different shape and color. There final part could be cauterized with a lighter or tied with a knot.
You can do double, so as to slip a page in the middle, or single, so that it protrudes from the book. THE metal wires I’m not recommended because they are rigid.

Corner bookmark
This realization requires a pinch of more manual skills. It always starts with a cardboard upon which draw a square from 12.5 cm on each side. This will go divided into four square sections (help yourself with a ruler) e then in three, erasing the top row in order to obtain three small squares that form an “L”.
Now, the square in the upper left and that bottom right they go divided with a diagonal from bottom to top from left to right.
You will thus obtain triangles. The highest and the lowest must be cut out: you will get so a kind of arrow. Are we there so far?
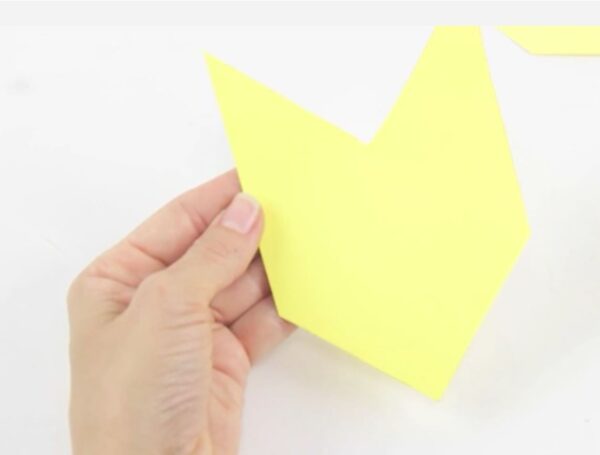
You just got the model to reproduce on another card, more often. Once this step is done, fold each triangle towards the center making them overlap. You will have obtained a kind of pocket, from fix with glue.
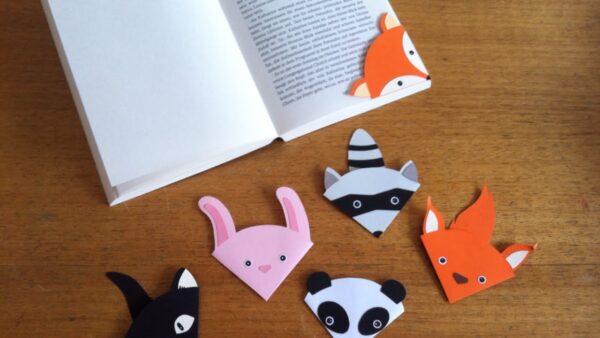
At this point the bookmark is business suit and you can give it the image you like. In the following photo, an idea to make small animals from tuck into the corner of the page that you are reading. I’m a’excellent found for gods little gifts to give at your children’s birthday party.
Fabric bookmark
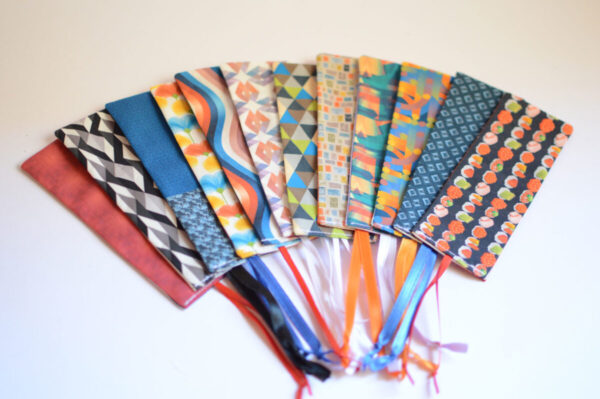
In this process we start from choice of fabric that goes cut in a rectangle at least 2.5 cm wide and 25 cm long. To harden it and make the next steps easier just starch it slightly.
Then, fold it back on itself in order to obtain a bookmark of the standard size of 12.5 cm. At this point you can consider leaving it like this or embellishing it. To insert a tape, enough place it in the middle to the two flaps of fabric before proceed to paste them.
When you are satisfied with the final result, glue the two parts together and voilà, that’s it. In this case, not need plasticize it because the peculiarity is precisely the softness to the touch of the fabric.
DIY bookmarks: images and photos
Here is a summary gallery of all the creations proposed.


Add comment