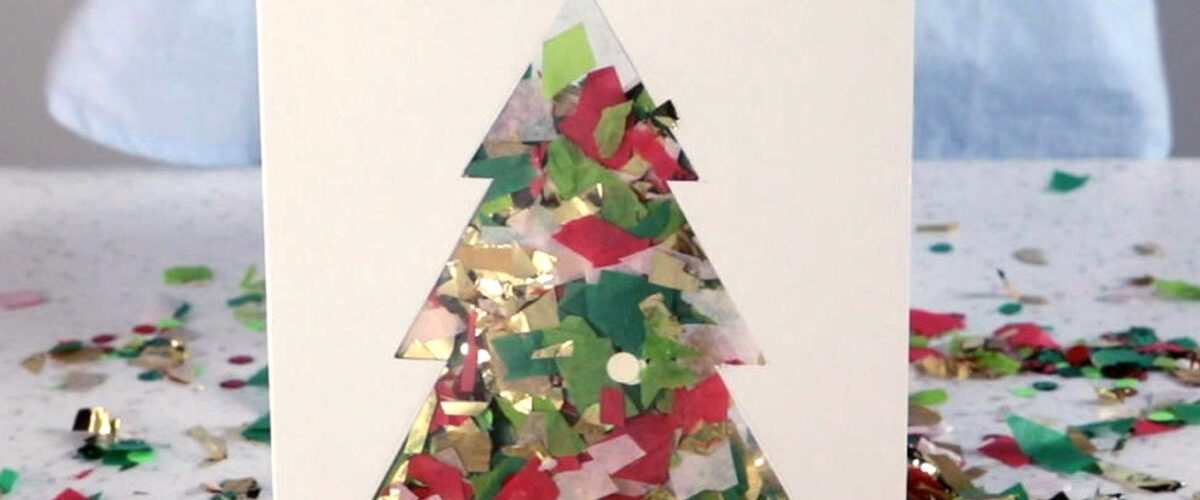
With scissors, some cardstock and a little glue you can make your own DIY Christmas cards. They will be creative, original and sure to amaze anyone who receives them on Christmas day because they will be personalized and different from all those found in stores.


Together with a nice gift box, but above all to one packaged in a simple way, is missing only a nice Christmas card to complete “the work”. All those that are on the market, however, are now seen and reviewed.
Self so to wish a Merry Christmas you are looking for something original with whom to communicate, you only have one way to do so, that is to achieve a DIY Christmas card. Making a card with your own hands will be easier than you think. You will need patience and desire to create, because the rest is there We thought us with the 3 ideas of DIY Christmas cards.
Read also: Decorating windows for Christmas: Photos decorations, ideas, do it yourself

1. Christmas card with garland and candles
To accomplish this kind of card with garland and candles, you will need a little more time and patience, but the result you get will pay off all the time spent creating it.
You will serve:
- a white a4 card or the color you prefer
- 1 green sheet, one red, one yellow, one beige
- fine-tipped brush
- vinyl glue
- fine tip gel pen.
- Take the white construction paper and fold it in half.
- Cut 9 strips from the colored sheet red, about 39 cm long and 5 mm wide, plus as many 9 red long this time Approximately 20 cm by 5 mm wide.
- Wrap the 39 cm ribbon around itself to form a round, at the end put a bit of glue and adhere the end of the other red stripe, that one though shorter. At this point rolls again the strip on itself. Press the round obtained as if you wanted to crush it, and at this point you will have obtained the shape of a leaf. Put a bit of glue to prevent everything from unrolling. Do the same process with the other 16 strips.
- Now that all the leaves are ready, glue one leaf next to the other to form the flower and in the meantime that the glue dries, you can take care of the pistils of the Christmas star. Cut it then 3 orange stripes about 13cm long and 3mm wide. Wrap each strip on itself and glue its end. When everyone is ready is 3 the pistils, glue them to the center of the poinsettia.
- For the leaves, size 16 green stripes, 39 cm long and 5 mm wide. Glue one strip over the other and fold them in half. Grab one side and fold inward until the end and glue the end. Proceed alike for the other side. Now glue to make both sides adhere is in this way you will have obtained the your sprig of leaves. Proceed until you have a total of 8 green twigs.
- Cut 9 strips from the sheet beige, 39 cm long and 5 mm wide. Wrap each strip on itself, crushes as you did for the red stripes, and glue the end. Do the same process for each strip. Now assemble your candles and then glue one piece onto the other until you get a candle composed of 5 pieces and one smaller than 4.
- Cut it 4 Stripes (2 yellow and 2 orange) 10 cm long each and glue the yellow to the orange to form a single long strip. Now wrap around itself until it forms a single circle. Crush again, put a bit of glue and the flame of the candle ready.
- Cut it yet two yellow strips 20 cm long and wrap up to form a circle quite broad to allow you to glue the flame of the candle inside then.
- At this point you have all the pieces ready to assemble your Christmas card. At the bottom of the card, make the inscription of good wishes for Christmas, then in the empty part glue each single piece with the vinyl glue and the job is done.

2. Embossed Christmas Tree Card
The making of this second ticket instead, it won’t take you much time and is much simpler than the first. It will take a couple of minutes and it will be ready, then it’s perfect for anyone who needs a last minute Christmas card!
You will need:
- a white a4 card
- a pink a1 card (or the color you prefer)
- scissors
- glue
- gold colored marker.
From cardboard a1, cut out 5 squares of this size:
- 12 × 12
- 10 × 10
- 8 × 8
- 6 × 6
- 4 × 4.
- Take each square and fold it in half. Take the right corner and bring it to the center, take the left corner and then do the same thing on the other side as well. Proceed in this way with all the sheets.
- Take the A4 card and fold it in half to create your card. Now glue each plane of the tree starting from the top with the smallest piece up to go down, arranging the sheets one inside the other.
- Draw a large golden star at the top that acts as a tip for the tree, or if you prefer make it with other cardboard. At this point the Christmas card is ready.

You may be interested in: Christmas place cards: 40 DIY ideas
3. An opening Christmas tree
The tree is the quintessential symbol of Christmas, so it can be the perfect subject for a Christmas card. This particular ticket is an opening tree inside which there are gift packages, which can also be opened. A certainly original greeting card.
You will need:
- 1 green a3 card
- white a4 sheet
- glue
- scissors
- silver and gold glitter sheets
- colored sheets.
- From green cardboard take the measurements 35 × 20 cm and cut out the rectangle.
- Starting from the center of the sheet, draw a perfect triangle for the tree and fold well so that the lines are clearly visible.
- Now fold the right and left corners inwards, following the folds made before, and reopen again the paper.
- Take the left corner cardboard, rotate inwards until it reaches the center, and fold. Do the same method with the right corner.
- Draw a semicircle on the bottom and cut so that the cardboard turns into a cone upside down.
- Now with the scissors make cuts left and right on the same line, so that the cardboard has really the shape of a tree Christmas.
- On the white sheet draw the triangle of silhouette of the tree and with glue, adhere it to the inside of the green card. Do the same procedure for the other 2 sides that match within the tree.
- Take the colored sheets and cut out small squares that you will go then to fold in half. Inside you can make an inscription directly on the colored sheet or create a base with a white square. Then decorate the outside of the colored sheet to give it the look of a gift box and paste on the white base of the tree.
Decorate the inside of the card as you like and on the outside you can glue stars made with glitter sheets or draw them by hand.

3 DIY Christmas Card Ideas – Pictures and Photos
It has never been easier to make Christmas cards yourself and so creative, because this time you have found our article to guide you in every process.

- Web writing and SEO copywriting courses
- Copywriter and author specializing in Design, Tourism, Furniture, Lifestyle

Add comment