Today I want to share this great recipe for making 3D paint o relief painting totally homemade, with common use products that we usually have at home.
The relief painting is an excellent choice to entertain and developing creativity in children. It’s easy to create great works of art with this spectacular painting that inflates as it dries.
Materials for making relief painting
-White plasticine
-Shaving foam
-Food coloring
-Small plastic container
-Bag
-Scissors

Preparation of the 3D painting
1- First, mix equal parts of white plasticola and shaving foam. Mix very well until a homogeneous mixture is obtained.
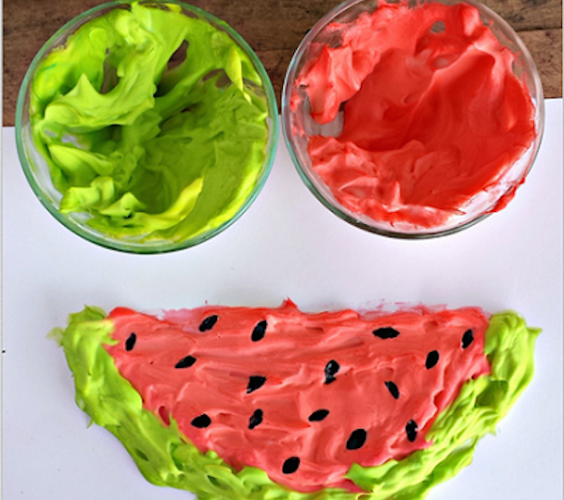
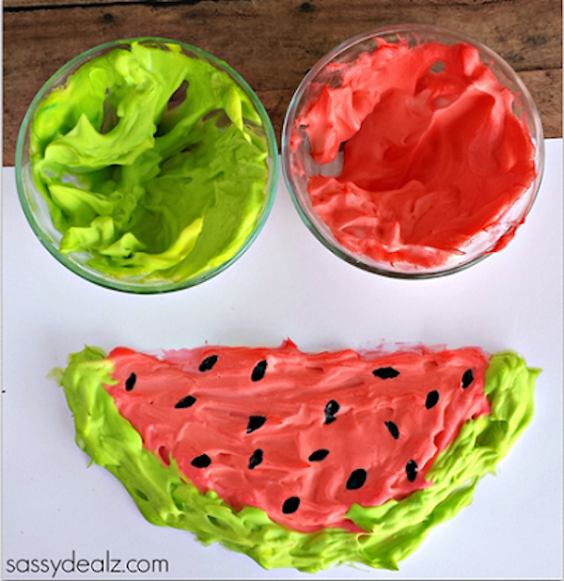
2- Then place a few drops of food coloring and mix again very well. If you thought to make several colors, you will have to divide the mixture in containers and to place to each one the wished color.
The painting will be ready to use and let your imagination run wild!
One suggestion is to put the paint in a bag, and make a cut in a tip, to use as a pastry bag to create shapes and fill spaces with the paint.
Another option is to use old brushes, carrying a lot of paint and tapping on the paper to create volume.
And the most fun… Finger-painting!
It is important to let the works of art dry in order to keep them in good condition for a long time. Simply let them rest until you notice that they are dry.

Source: eresmama.com
Picture 1, Picture 2, Picture 3

Add comment