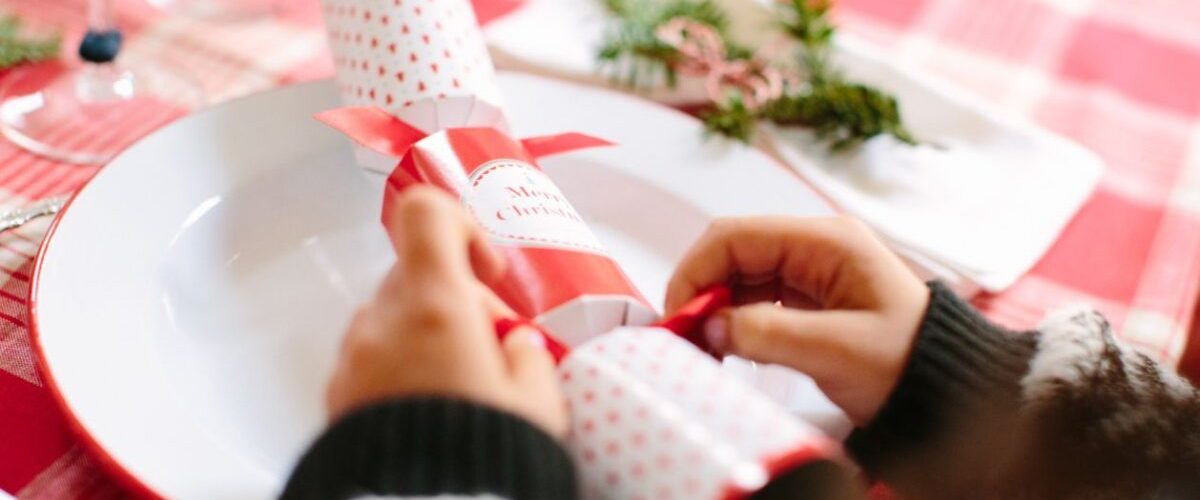
In every dinner in style, details such as place cards cannot be missing. Find out how you can make Christmas place cards with your own hands with simple materials and with few procedures, for a great effect.


When organizing a dinner or a lunch for the Christmas holidays, it is normal that you want everything to be flawless and attention to detail. In fact, you make sure that the tablecloth is well ironed and without defects, the napkin and cutlery put in the right place, the glasses are without fingerprints. At this point, all that’s missing is a cute centerpiece and a placeholder for each guest at your banquet.
If you haven’t chosen the placeholder for the occasion, we will give you we 3 ideas different of Christmas place cards to make with your own hands following a few procedures in which we will guide you step by step.
Read also: Christmas place cards to make with children

1. Nice placeholder boats
You can bring it a little bit of cheerfulness on the table with gods placeholders originals in the shape of a boat to embellish then with Christmas decorations and the names of the guests you will have at home. Let’s see what are the necessary and how they are made.
The material you need is the following:
- a4 beige cards
- stamp and ink pad or alternatively a simple black marker
- small fake trees
- characters like reindeer, Santa Claus (optional)
- 2 toothpick
- red cardstock
- hot glue
The first step is to build the boat, so you have to arm yourself with a little patience because maybe his figure will not come out immediately on the first shot, but after the second attempt at most, everything will be easier.
- Get the cardboard, fold in half vertically and do well finger pressure more than once so that it leaves its mark well. At this point fold in half again, so as to have a sheet folded in 4, and make a strong pressure again.
- Open the sheet in half. Take a corner of part a right, fold towards the center and press well to make your mark. This will leave a couple of centimeters at the base of the card. Do the same with the other side.
- Take the bottom of the first layer of cardboard and fold it towards the center, that is, towards the corners you just created.
- Turn the boat on the back side and the corners that protrude from its silhouette fold them inwards that is towards you and put pressure. Then do the same process on both left and right.
- From this position, fold the other base portion that is left over and fold it inwards. Turn the paper over and fold the corners as you did in the previous step.
- At this point the card will be a triangle with a blank bottom. Stick your fingers into the base of your boat and open. Automatically the triangle it will turn into a rumble.
- Position the sheet so that the open part of the diamond is positioned at the bottom. Take a bottom flap and bring it up, turn the sheet and do the same operation with the other flap.
- Open the bottom again and you will have got a rumble again. With delicacy from the top pull the two corners outwards, fold putting pressure, open and your boat is ready to be decorated.
- With stamp, write the name of your guest on front of the boat, or alternatively use a common black marker. Place the mini tree on the base of the yours boat and paste with hot glue is on the other side do the same with the character what do you have chosen to decorate it.
- Now you can take care of the mast that just can’t be missing in a boat. Get two toothpicks, forms a cross and stops all with a tip of hot glue. Draw on a card red or any other color a flag and glue to the toothpicks. Now you can glue the yours flag to the boat. As an alternative to the flag, make a garland to hang from the mast, using a moldable wire and a sprig of thyme or rosemary.

You may be interested in: DIY dried oranges Christmas decorations
2. Cinnamon-scented place cards
Something can be accomplished cute also using of the ingredients we have in the kitchen and in particular we refer to cinnamon, a very fragrant spice that is also the one that makes the Christmas atmosphere even more welcoming.
Make the place card with cinnamon it really is very simple is They are few the necessities that you will need:
- 1 cinnamon stick
- white a4 cardboard
- golden gel pen
- decorations of your choice (e.g. holly, star anise, pine twigs)
- pencil
- scissors
- hot glue
- Get the cardboard a4 is with the help of a ruler draw the placeholder of the measure you wish to achieve. Cut it the placeholders one by one.
- With the pencil write the name of your guest so as not to make mistakes by using the pen directly on the paper. Once you have completed the draft then copy with the pen with a firm hand to avoid smudging.
- Cut the cinnamon stick in half. Now, between one stick and the other insert the cardboard is then adhere with hot glue.
- At this point your work is almost done. With glue hot fix the decorations you have chosen, with cinnamon stick and your place card is ready.

3. A framed placeholder
If you prefer that the placeholder with which to decorate your table is the most simple possible and therefore without frills, you can make one with one simple golden frame which gives it that right touch of extra elegance.
To create it you will need it:
- golden cardboard
- white a4 sheet
- liquid glue
- red glitter
- glue stick
- pencil
- line
- On the white sheet he draws, with pencil and ruler, the rectangular shape based on the size you want to give to your placeholder. Do the same with the gold card, but calculate that for each placeholder, you will need to make two golden rectangles.
- On the white sheet write the name of your guest in pencil, then pour carefully glue on each letter and do fall gently the glitter above the glue. Wait for it to dry.
- Once you are sure that the glue is dry, gently shake the sheet so that the excess glitter goes away.
- Get one of two rectangles what do you have made with cardboard and obtain a frame, thus leaving the center empty so that you can then see the writing inside.
- System on the work surface the whole golden rectangle first, then the glue and the sheet White with the name written. Now press to join the two parts. Spread on the white sheet of the glue and then lay down the frame golden and press well. Now the your placeholder in the form of a frame it’s ready to decorate your table.

3 Christmas place cards with cardboard: images and photos
Making Christmas place cards using simple cardboard and a few other materials is really simple. Just follow our step-by-step tutorials to quickly make one with your own hands.

- Web writing and SEO copywriting courses
- Copywriter and author specializing in Design, Tourism, Furniture, Lifestyle

Add comment